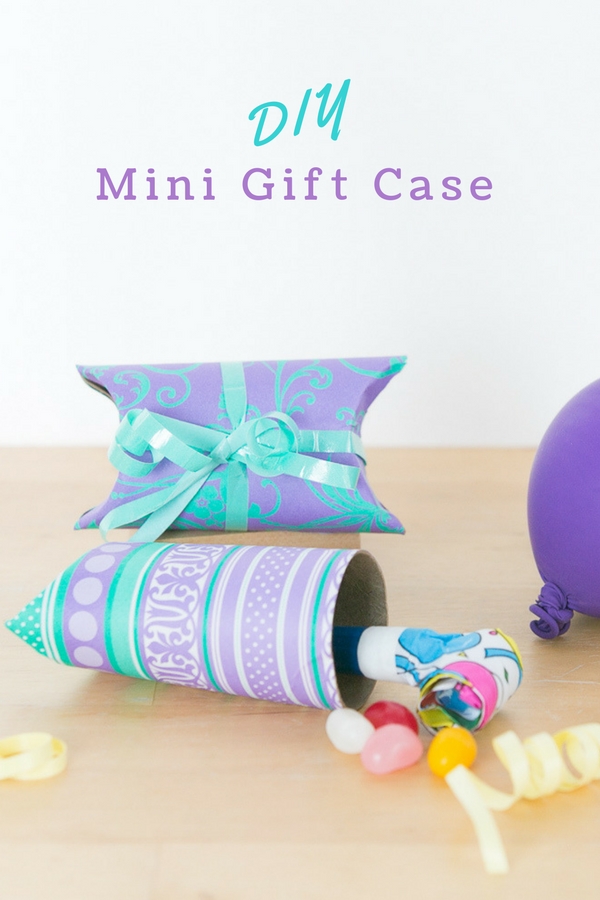
Handmade craft projects? yes please!! The Craft it up this Ramadan and Eid book by my talented friend Zayneb Abdullatif is one of the most favorite craft book of my daughter. The crafts are fun and help children understand the meaning behind Islamic culture, traditions and festivities in an entirely fun and awesome way! Most crafts have an Islamic introduction, helping children relate back to the Sunnah of Rasulullah (pbuh). One such craft is creating pillow boxes that can be used to gift others. Kids learn how spending time to create gift boxes for other can be a great act of kindness. We use the book to do crafts not just during Ramadan and Eid but throughout the year.
Zayneb is sharing one of the crafts from the book –
Asalamualaikum, I’m Zayneb, author of Craft it up this Ramadan and Eid. I’ve been a ‘hands on kid’ ever since I can remember. I wanted to incorporate my passion for making things and the love for my Deen into one; that’s when the idea of an Islamic craft book came to mind. I wanted it to be special, something everyone can use and relate too. I wanted children to learn about Islamic traditions and cultures while having fun. I wanted children to be inspired to create the projects using their imagination, and using whatever they have around the house. That’s why the Ramadan and Eid crafts in the book are simple and exciting! There are over 40+ crafts in this book for you to create with your children.
I believe in using less and making the most of what I have. That’s why most projects in the craft book are created from recyclable items; that are found in your very own home…or maybe your next door neighbour’s. Nevertheless it’ll encourage your children to make use of what they have.
There are no rules in this book. Experiment with color, texture and objects. Unleash your creativity and overall have fun! Sharing an easy mini gift case craft.
It’s a quick way to make a gift with hidden surprises! I’m sure any child (or adult) would love this!
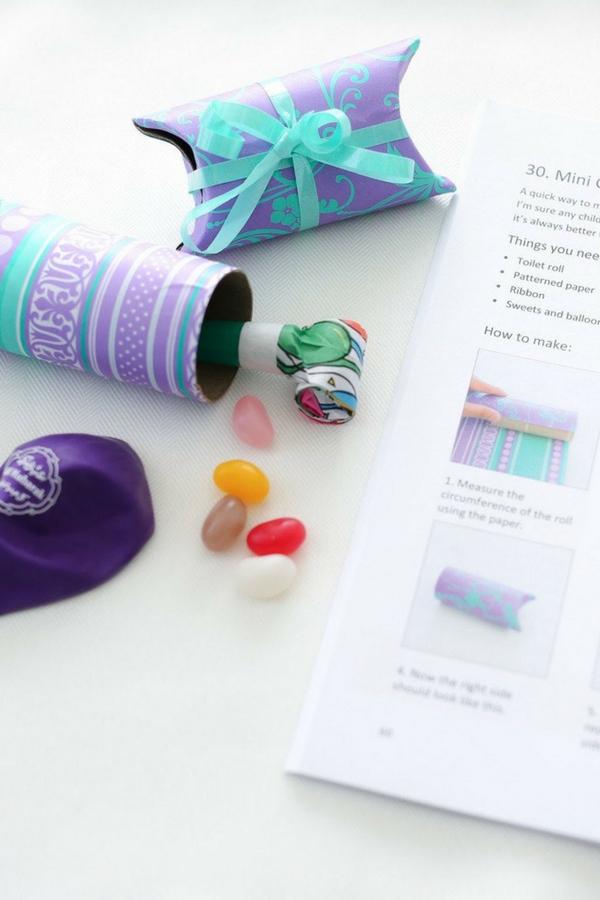
Items needed:
- Toilet/kitchen Paper roll
- Patterned paper
- Ribbon
- Glue
- Scissors
- Pencil
- Sweets and balloons
Instructions:
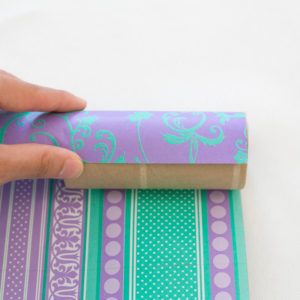
1. Measure the circumference of the roll using the paper. Mark with a pencil.
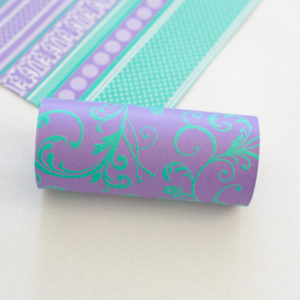
2. Cut and glue paper onto roll.
3. Starting with the right side, push the end inwards.
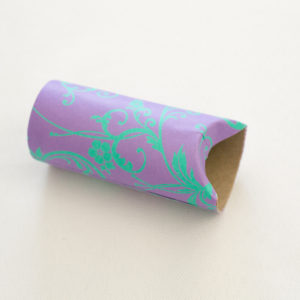
4. Fill with sweets from the open side. Then repeat step 3 on the left side and add ribbon.
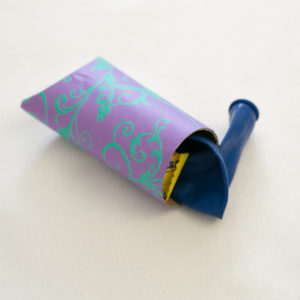
Now, all you have to do is hand them out to neighborhood kids, your kid’s friends and classmates.
P.S. Did you make this DIY or other DIY of ours? We’d love to see it!
Share with us on Instagram @withaspin_ or Facebook @withaspin using hashtag #livingWithASpin on all social media.
If you make this DIY and share photos of your version on your own blog, please be sure to include a link back to this page as your source of inspiration.
If re-posting our picture, please be sure to give photo credit and link back to With A Spin!
All With A Spin ideas are for personal use only. Please do not create projects from With A Spin for business purpose.

Thank you for visiting With A Spin. We hope you enjoy your stay here! Let us know what you think. Leave a comment or question.